Heather Planting Checklist: Soil, Sun, Spacing, and Aftercare
A tray of heather in autumn is hard to walk past. Tight cushions of foliage, buds already showing colour, and the promise of flowers when almost nothing else is doing anything. The trouble tends to come later. Heather is genuinely tough once it has settled, but it holds firm opinions about soil, drainage, and planting depth, and it rarely complains until the foliage turns grey and brittle in midsummer. Get soil, sun, spacing, and the first season's aftercare right, and a new heather will knit into a dense mat that shrugs off wind, salt, and drought. Get one of them wrong and you will be buying a replacement next year.
Before You Buy: Site, Soil, and Sun
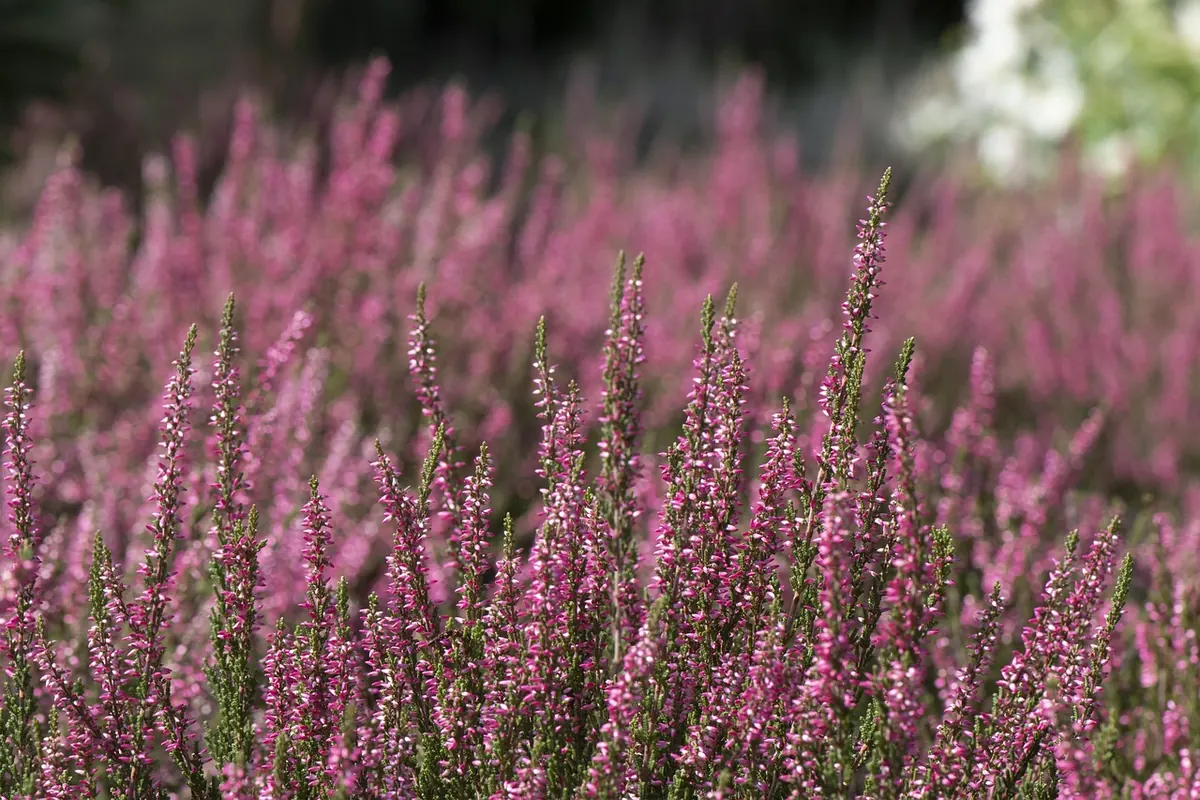
Heather is a loose word covering several plants. Most garden heathers are Calluna vulgaris, summer-flowering and compact, or one of the Erica species, which includes the winter-flowering sorts. They differ in a few important ways, and the biggest is how they feel about lime.
Do two quick tests before you commit to a planting spot:
- Drainage. Dig a hole a spade deep, fill it with water, and check it an hour later. If it is still full, that ground is too wet for heather. Plant on a mound, or build a raised bed with grit worked in.
- Soil pH. A cheap test kit tells you enough. Callunas and most summer ericas want acid to neutral soil, roughly pH 4.5 to 6.5. Erica carnea and Erica darleyensis are far more forgiving and will cope with slightly limy ground.
Aim for at least five or six hours of sun. Winter heathers will flower in light shade, but colour and density are always better in the open. Exposed, windy sites are fine — heather grows on moorland and clifftops, and it appreciates the air moving through it. What it dislikes is being crowded by shrubs or planted where fallen leaves pile up year after year.
What to Have Ready
Gather everything before you start lifting plants. Rootballs dry out fast once they are out of the pot.
- A bucket or trug of water for soaking pots
- Leaf mould or ericaceous compost for backfilling
- Horticultural grit, if your soil is heavy
- Bark mulch or more leaf mould for the surface
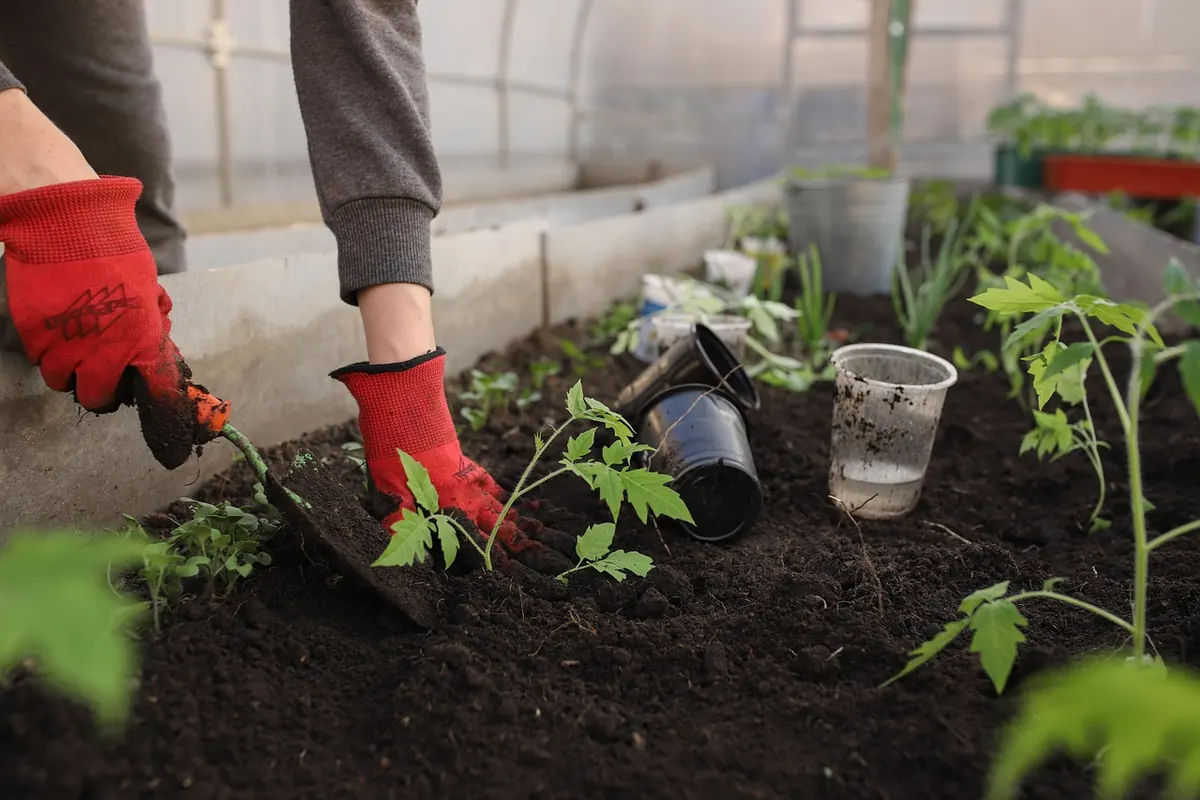
- A hand fork, gloves, and a watering can with a rose
Notice what is missing: fertiliser. Heather evolved on thin, poor ground. Rich compost or a general-purpose feed pushes soft, sappy growth that flops open and scorches in its first summer.
Spacing and Layout
Space plants according to their eventual spread, not the size of the pot. Small callunas planted 20 to 25 cm apart will close into a continuous carpet within two seasons; at that spacing you need roughly sixteen plants per square metre. Larger cultivars, daboecia, and tree heaths want 45 to 60 cm between them.
Heather looks best in drifts rather than soldier-straight rows. Group three, five, or seven of one variety, then repeat the grouping across the bed. Vary the foliage colours — gold, silver, deep green, bronze — and let the flower colours pick up in sequence from winter through to autumn. Keep plants about 30 cm away from walls and fences, where soil stays dry and air circulation is poor. Underplanting with snowdrops and small narcissi works well; the bulbs push through the mat while the heather is still low, then vanish beneath it.
Planting, Step by Step
- Pick your moment. Autumn or early spring is ideal. Avoid frozen ground, standing water, and the heat of midsummer.
- Soak the pot. Stand it in water for an hour. Heather rootballs are dense and can be stubbornly dry inside.
- Dig wide, not deep. A hole two or three times the width of the pot, but no deeper than the rootball. Roughen the sides with a fork.
- Free the roots. Ease the plant out and tease apart any roots circling the base. If the rootball is a solid block, score the sides with a knife in two or three places.
- Set the level. The top of the rootball should sit level with the surrounding soil. On heavy clay, leave it a centimetre proud so water runs away from the crown.
- Backfill. Use the dug soil mixed with leaf mould or ericaceous compost, plus a handful of grit on clay. Firm gently with your fingertips — never stamp on it.
- Water in. Give each plant a full can, even if rain is forecast. Then mulch 5 cm deep with bark or leaf mould, keeping it clear of the stems.
Aftercare Through the First Year
Watering
Established heather is drought-tolerant; new heather is not. Water deeply once a week through the first spring and summer if there is no significant rain, and twice weekly during a heatwave. A quick daily sprinkle does more harm than good, encouraging shallow roots.
Mulching and feeding
Top up the mulch each spring with leaf mould or composted bark. Do not feed. The only exception is heather growing in containers, which benefits from a dilute ericaceous feed in early spring.
The first prune
Do not skip this. Prune callunas in spring once the worst frosts have passed, cutting back the previous year's flowered stems to just above the new green shoots. Trim Erica carnea and Erica darleyensis immediately after flowering finishes. The rule is simple: you can cut into green growth, but never into the bare, woody base. Heathers rarely regrow from old wood, so an over-enthusiastic chop leaves a permanent hole.
Five Mistakes That Sink New Heather
- Planting too deep. A buried crown rots within a season. Keep the rootball level with the surface.
- Choosing shade. Heather sulks under trees and in narrow gaps between buildings. Sun first.
- Using the wrong compost. Multipurpose compost with added feed is too rich and often too limy for callunas.
- Forgetting the first summer. Most losses happen in the six months after planting, in dry spells that look harmless.
- Pruning into old wood. Cut too low and the plant will not fill back in. Stay in the green.
The Printable Checklist
- Sun for five to six hours, or more
- Drainage tested — no standing water an hour after filling the hole
- Variety matches your soil pH
- Weeds and grass cleared from a 30 cm margin
- Plants soaked for an hour before planting
- Rootballs teased or scored
- Rootball level with the soil surface
- Spacing 20–25 cm for small callunas, 45–60 cm for larger sorts
- Watered in, then mulched to 5 cm
- Weekly deep watering through the first summer
- Spring prune booked, above the old wood
Work through that list once and the hard part is over. Heather asks very little after the first year — a spring trim, a little mulch, and the patience to let it spread. In return it gives you colour in the dead of winter, a weed-proof carpet that needs almost no watering, and a garden that looks settled rather than newly planted.
Photo: Katya_Ershova / Pixabay